Verdict
Eye-wateringly expensive and a bit bulky to move around, this automated telescope and camera will nonetheless provide impressive images of night-sky objects such as nebulae and galaxies with ease. The downside is that you’ll need to focus it manually, put up with its temperature and wind restrictions, and get it under clear skies.
Pros
- Easy to use
- Wide catalogue of targets
- Wi-Fi and app
Cons
- Expensive
- Image quality could be better
- Tripod not always stable
-
Smart phone controlUse your smartphone, via the direct Wi-Fi connection, to control the telescope and take photos.
Introduction
Unistellar’s EVscope 2 is a camera in a telescope with a motor attached.
Designed to slew its way around the night sky guided by an app, it has integrated image processing and internal database of objects, tracking them and providing long-exposure images to show the faint glow of nebulae and detail of the Moon’s surface.
The EVscope 2 also has an eyepiece, unusual on this kind of fully electronic device, so you can peer through it rather than look at your phone screen.
If you’re prepared to pay the high price then the eVscope 2 has a lot to offer, but there are some drawbacks to the system that may make it less attractive.
Design and features
- Comes with tripod
- Reflecting telescope
- Fully integrated electronics
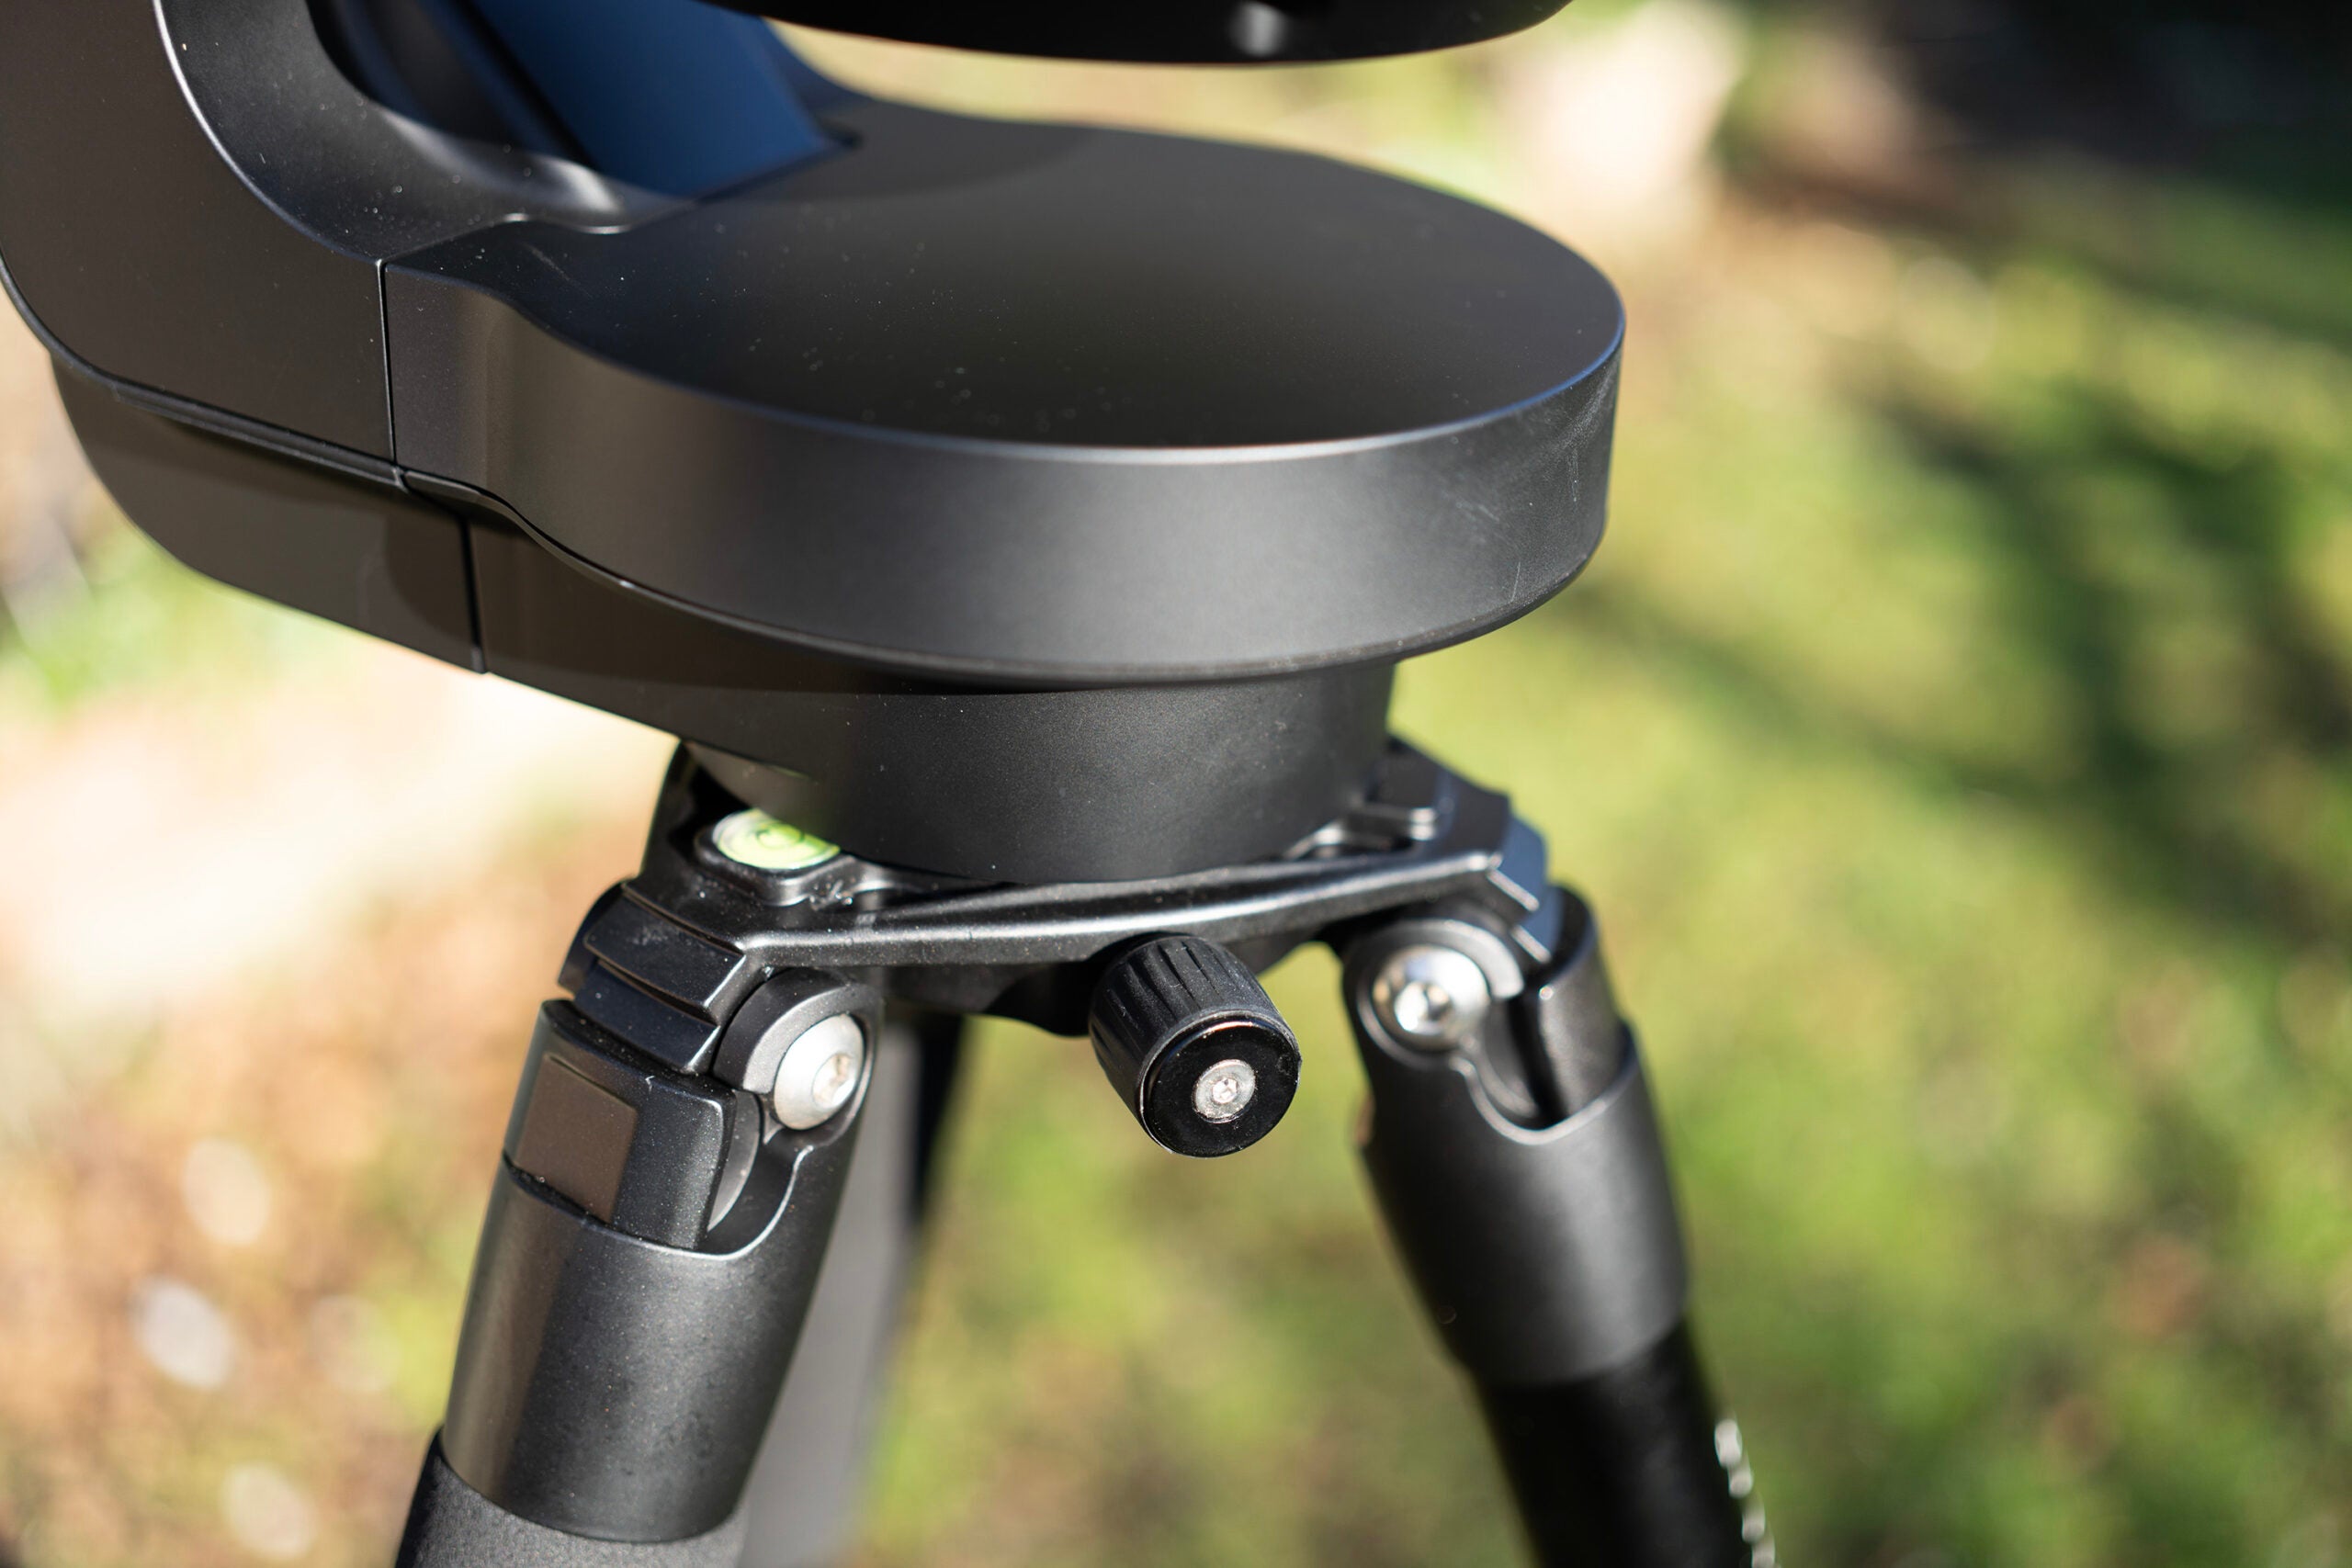
Assembling the EVscope is very easy, as it comes in almost one piece: once you’ve extended the three-section tripod legs, it just slots into the top and is held in place by two screws you can do up with your fingers. You’ll need to get it level, using the bubble built into the tripod, but from there the system can calibrate and locate itself once you’ve connected a phone or tablet to the Wi-Fi hotspot it creates, and connected the app using a unique ID number on the bottom of the telescope tube. Up to 10 people can connect in observer mode, and benefit from viewing the images without taking control of the scope itself.
The telescope here is a reflector, with a focal length of 450mm and an aperture of around 5.5in, for a focal ratio of f/4. This gives it a limiting magnitude in the region of 18, so you can use it to pick out quite dim objects. There’s a 7.7MP camera attached, and the motorised alt-az mount lets it track deep-sky objects while sending the stacked and processed results to the phone app.
It’s an excellent system that removes a lot of the worst part of astrophotography and stargazing – the need to set your equipment up beforehand, and constantly be outside in the cold peering through the eyepiece at something you can hardly see. The Wi-Fi hotspot on the EVscope 2 doesn’t have a particularly long range, especially if you’re connecting to it through a closed door, but it allows you to sit inside once you’ve positioned it, and stargaze with a cup of tea.
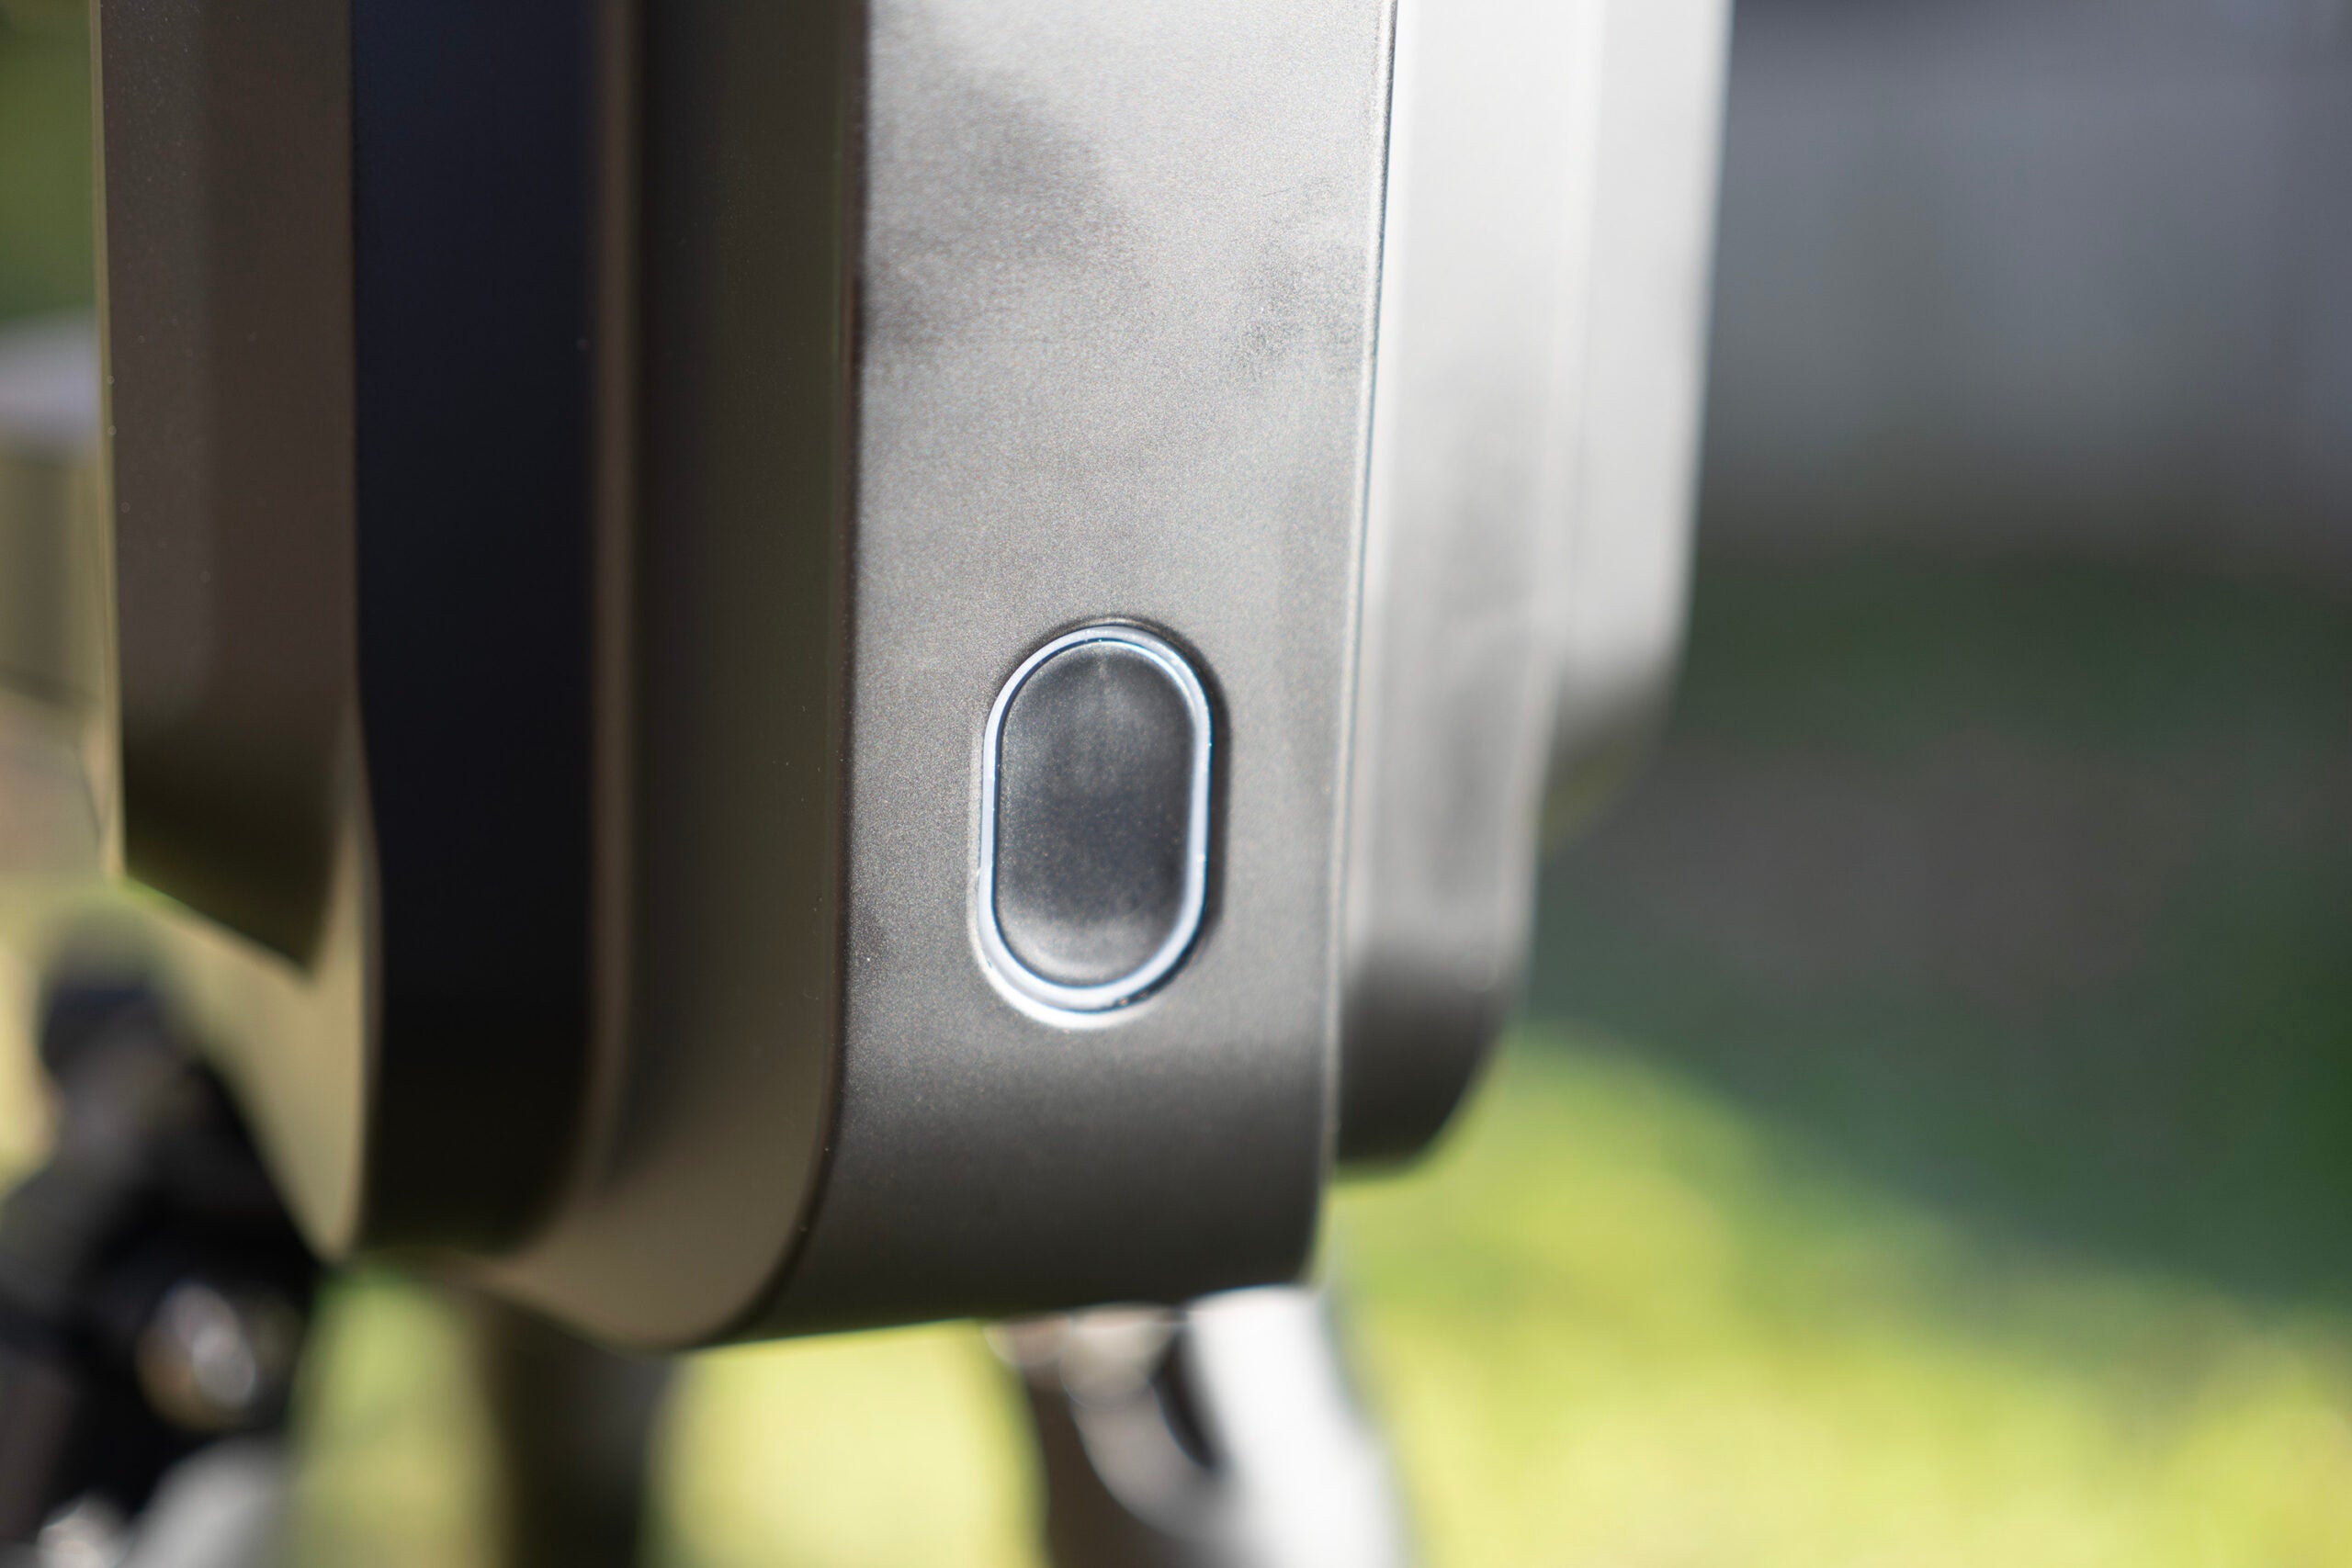
With its silver and black finish it’s a good looking scope, for something that will be mainly used in the dark, though the all-black tripod needs careful siting so you don’t catch your foot on its legs when walking near it. A lone light on the power button – the only control that’s actually on the telescope beyond the focus wheel on the back of the tube – uses colour to tell you the Wi-Fi status.
There are a pair of USB ports for charging (Type-C) and a USB-A port that weirdly seems to have no actual use.
As the tube doesn’t come apart or fold down in any way, it can be cumbersome to carry. A dedicated backpack is available to take the scope with you, but it’s an extra £335.
Performance
- Easy setup and tracking
- Plenty in the catalogue
- Watch out for the temperature
The problem with astrophotography and stargazing in the UK is the weather, with the best nights tending to be clear and cold, and any cloud ruining the experience entirely. The eVscope 2 adds an element of spontaneity to back-garden astronomy, as it allows you to quickly set up and get viewing.
The calibration procedure for the EVscope 2 is quick and easy. Once you’ve got it on the tripod in its resting upright position, have connected your mobile device to the Wi-Fi hotspot and run the app, it only needs a view of the stars to calibrate itself, which only takes a few seconds. A focus wheel allows you to get your view of the stars sharp before you start, watching the app display or using the eyepiece to see the result of your changes, and a Bahtinov mask is included to help with this process.
From there, it’s a case of choosing something from the app’s catalogue and waiting for the scope to slew to view and track it. It helps if you have a secondary app, such as Google Sky Map handy, to immediately see what’s above you and not obscured by trees and ground clutter – it’s a scope that’s best used in clear surroundings – as the Unistellar app isn’t always clear about what’s visible from your position.
Once you’ve locked on to something you want to look at, you’ll begin to see an image emerge in the app. The EVscope 2 takes an exposure every few seconds and stacks them into a long-exposure image that it will automatically process. A button tap saves a file to your phone’s Photos app, from where it can be easily shared.
There are also some weather-based caveats to the use of the EVscope 2. The tripod is not as heavily built as those under traditional EQ telescope mounts, so it’s vulnerable to the wind, which can make it rock slightly and soften your images. You can see this in action more clearly as you adjust the focus wheel – you need to let the telescope settle before deciding whether the image has improved after your adjustment.
The eVscope 2 is also temperature sensitive, with the instruction manual warning never to use it in temperatures below 10°C or suffer battery damage. This limits the number of clear winter nights the scope will be useful on unless you live closer to the equator than my south-west UK test garden.
Charging of that battery comes via the USB-C port, and it’s a bit finicky about which chargers it will accept. The fast chargers I’m used to using with phones and tablets may not work, with the telescope preferring a lower wattage device. This is not much of a problem as you’re likely to charge the telescope during the day rather than in a hurry, and you can also connect a power bank to increase the usage time in the field. Once it’s charged, you’ll get up to 10 hours of observing time out of it.
Image quality
- Sony imaging sensor
- 7.7MP images
- Manual focus
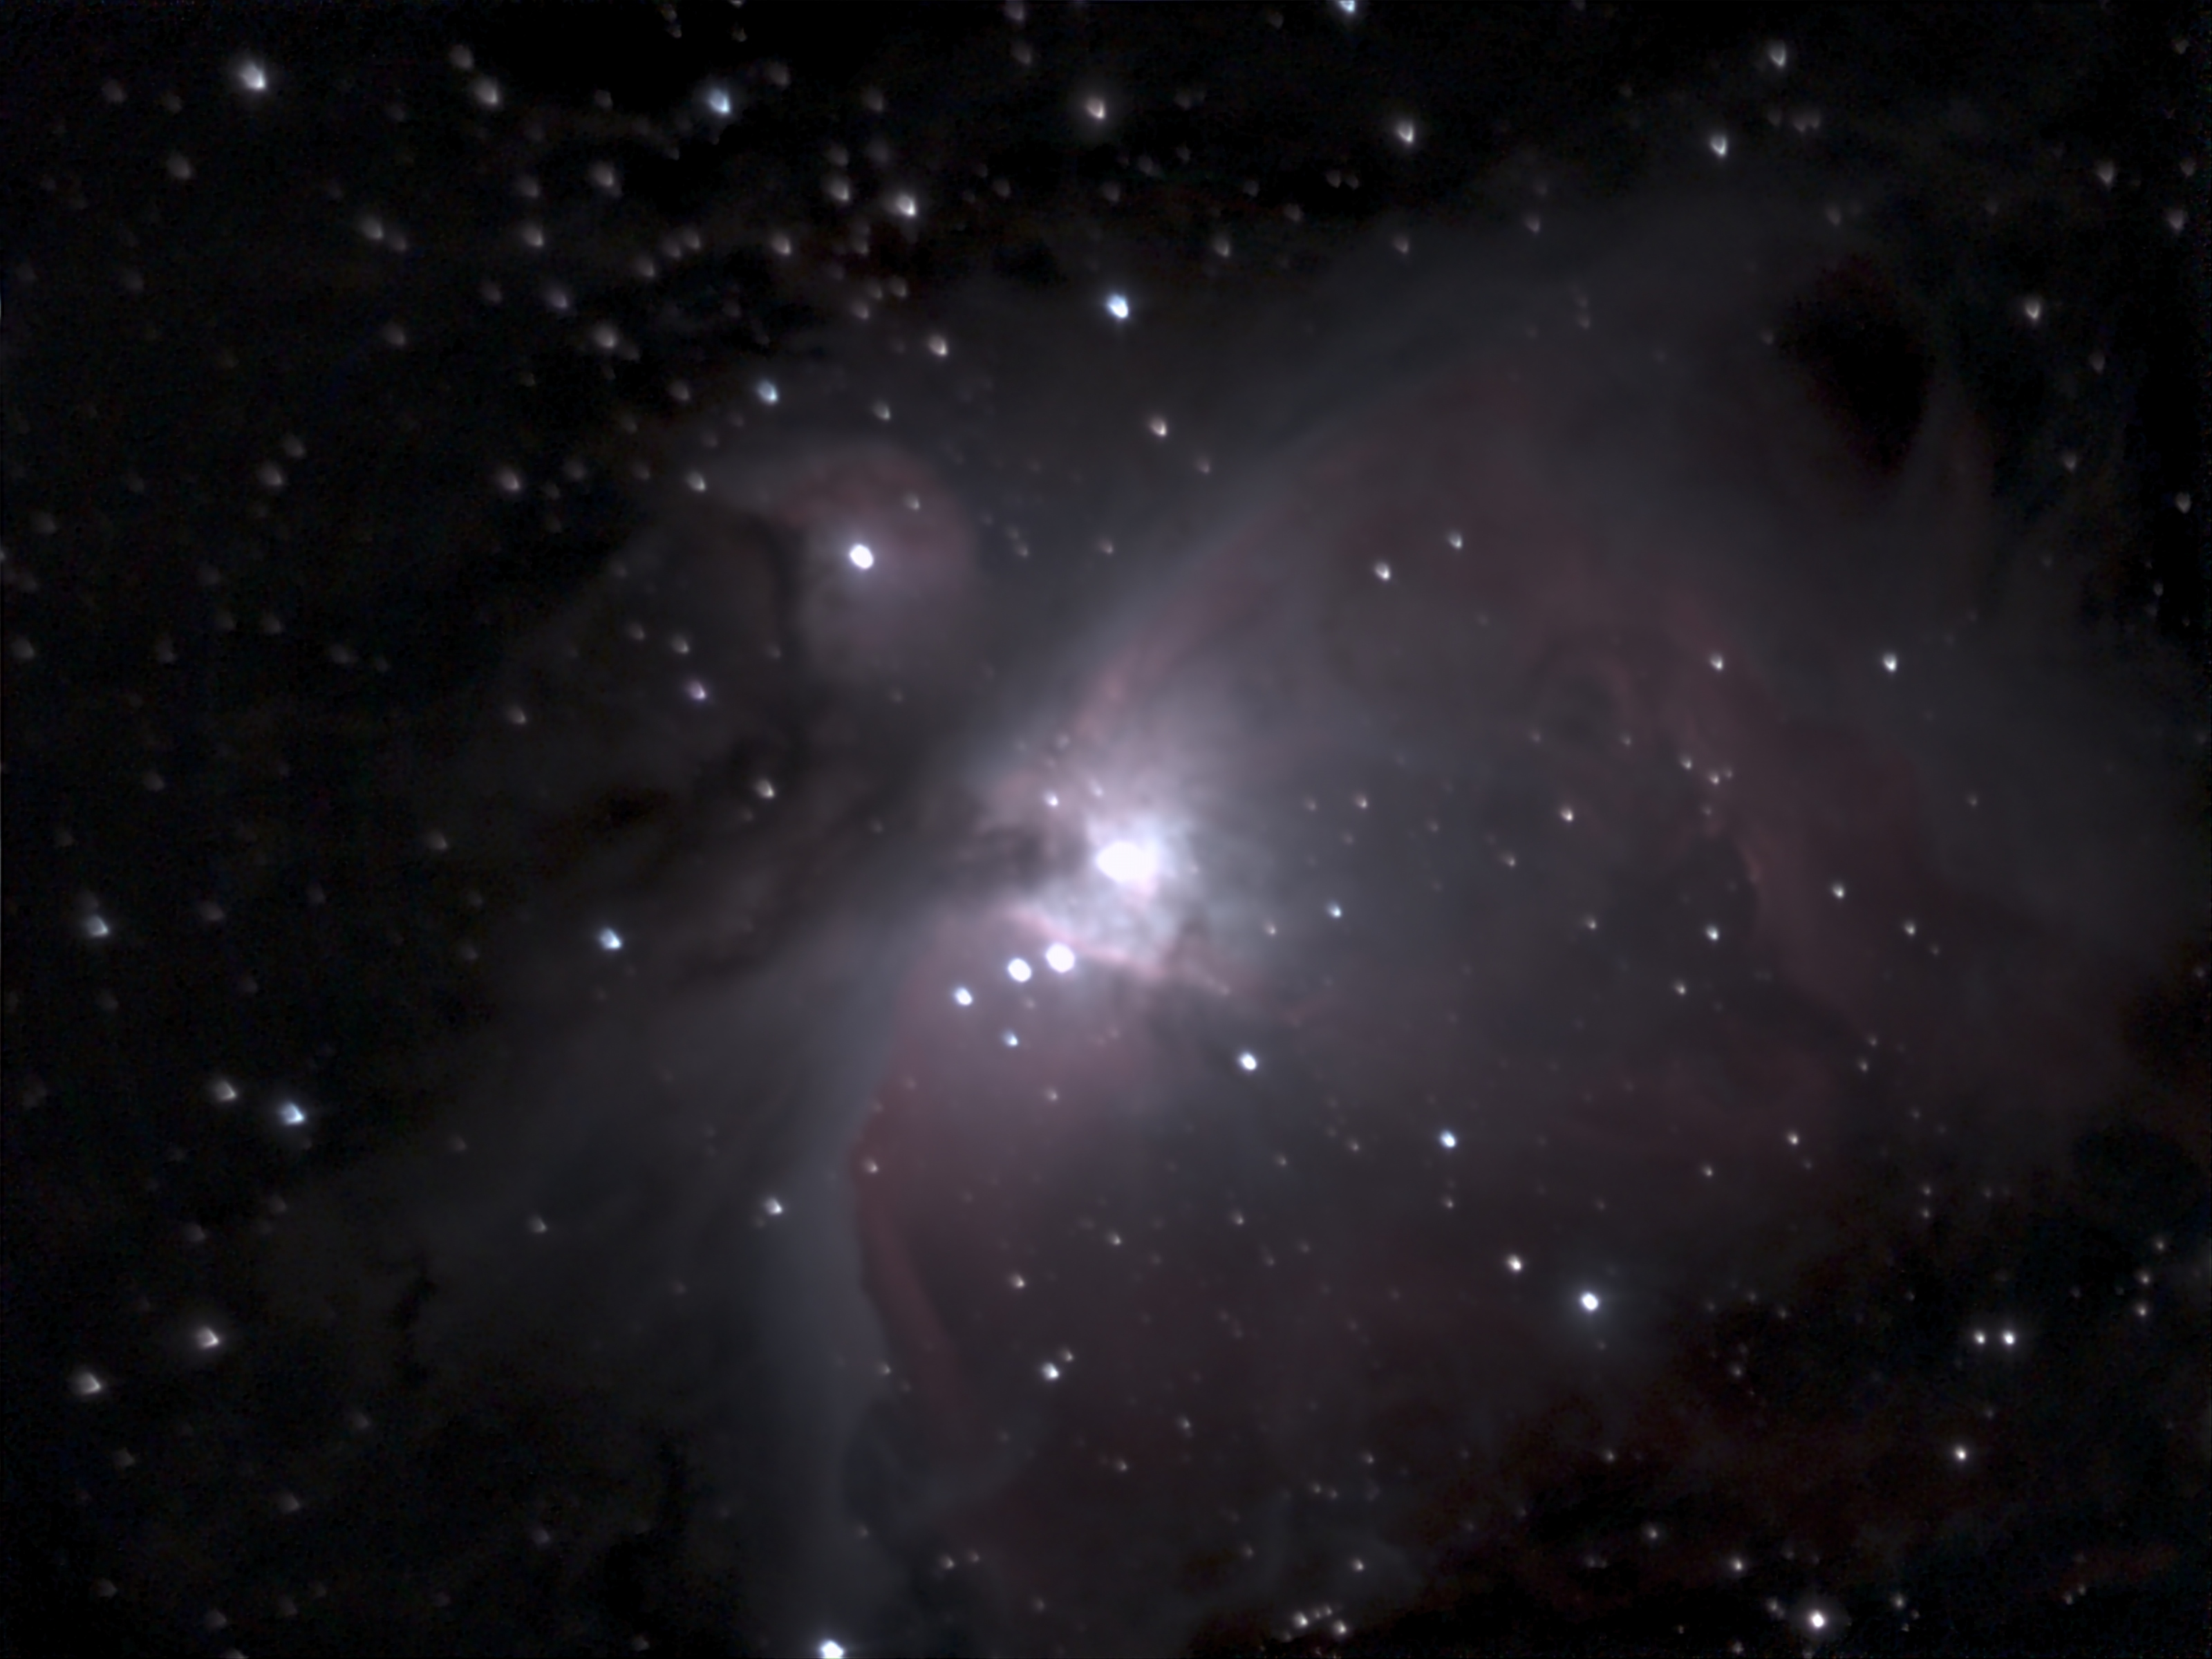
The magnification and aperture are ideal for looking at wider-field objects such as the Orion Nebula or Andromeda galaxy. For the nebula, an hour’s worth of data came together to create an image that was murky but showed some structure. A bit more processing in the Google Photos app on the phone brought out the colours nicely, increasing the contrast so the Trapezium Cluster at the nebula’s heart shone brightly and the reds and blues of the gas clouds could be seen. It filled the telescope’s field of view nicely, making the most of the 7.7MP Sony IMX347 CMOS sensor. You can see the before and after processing images below.
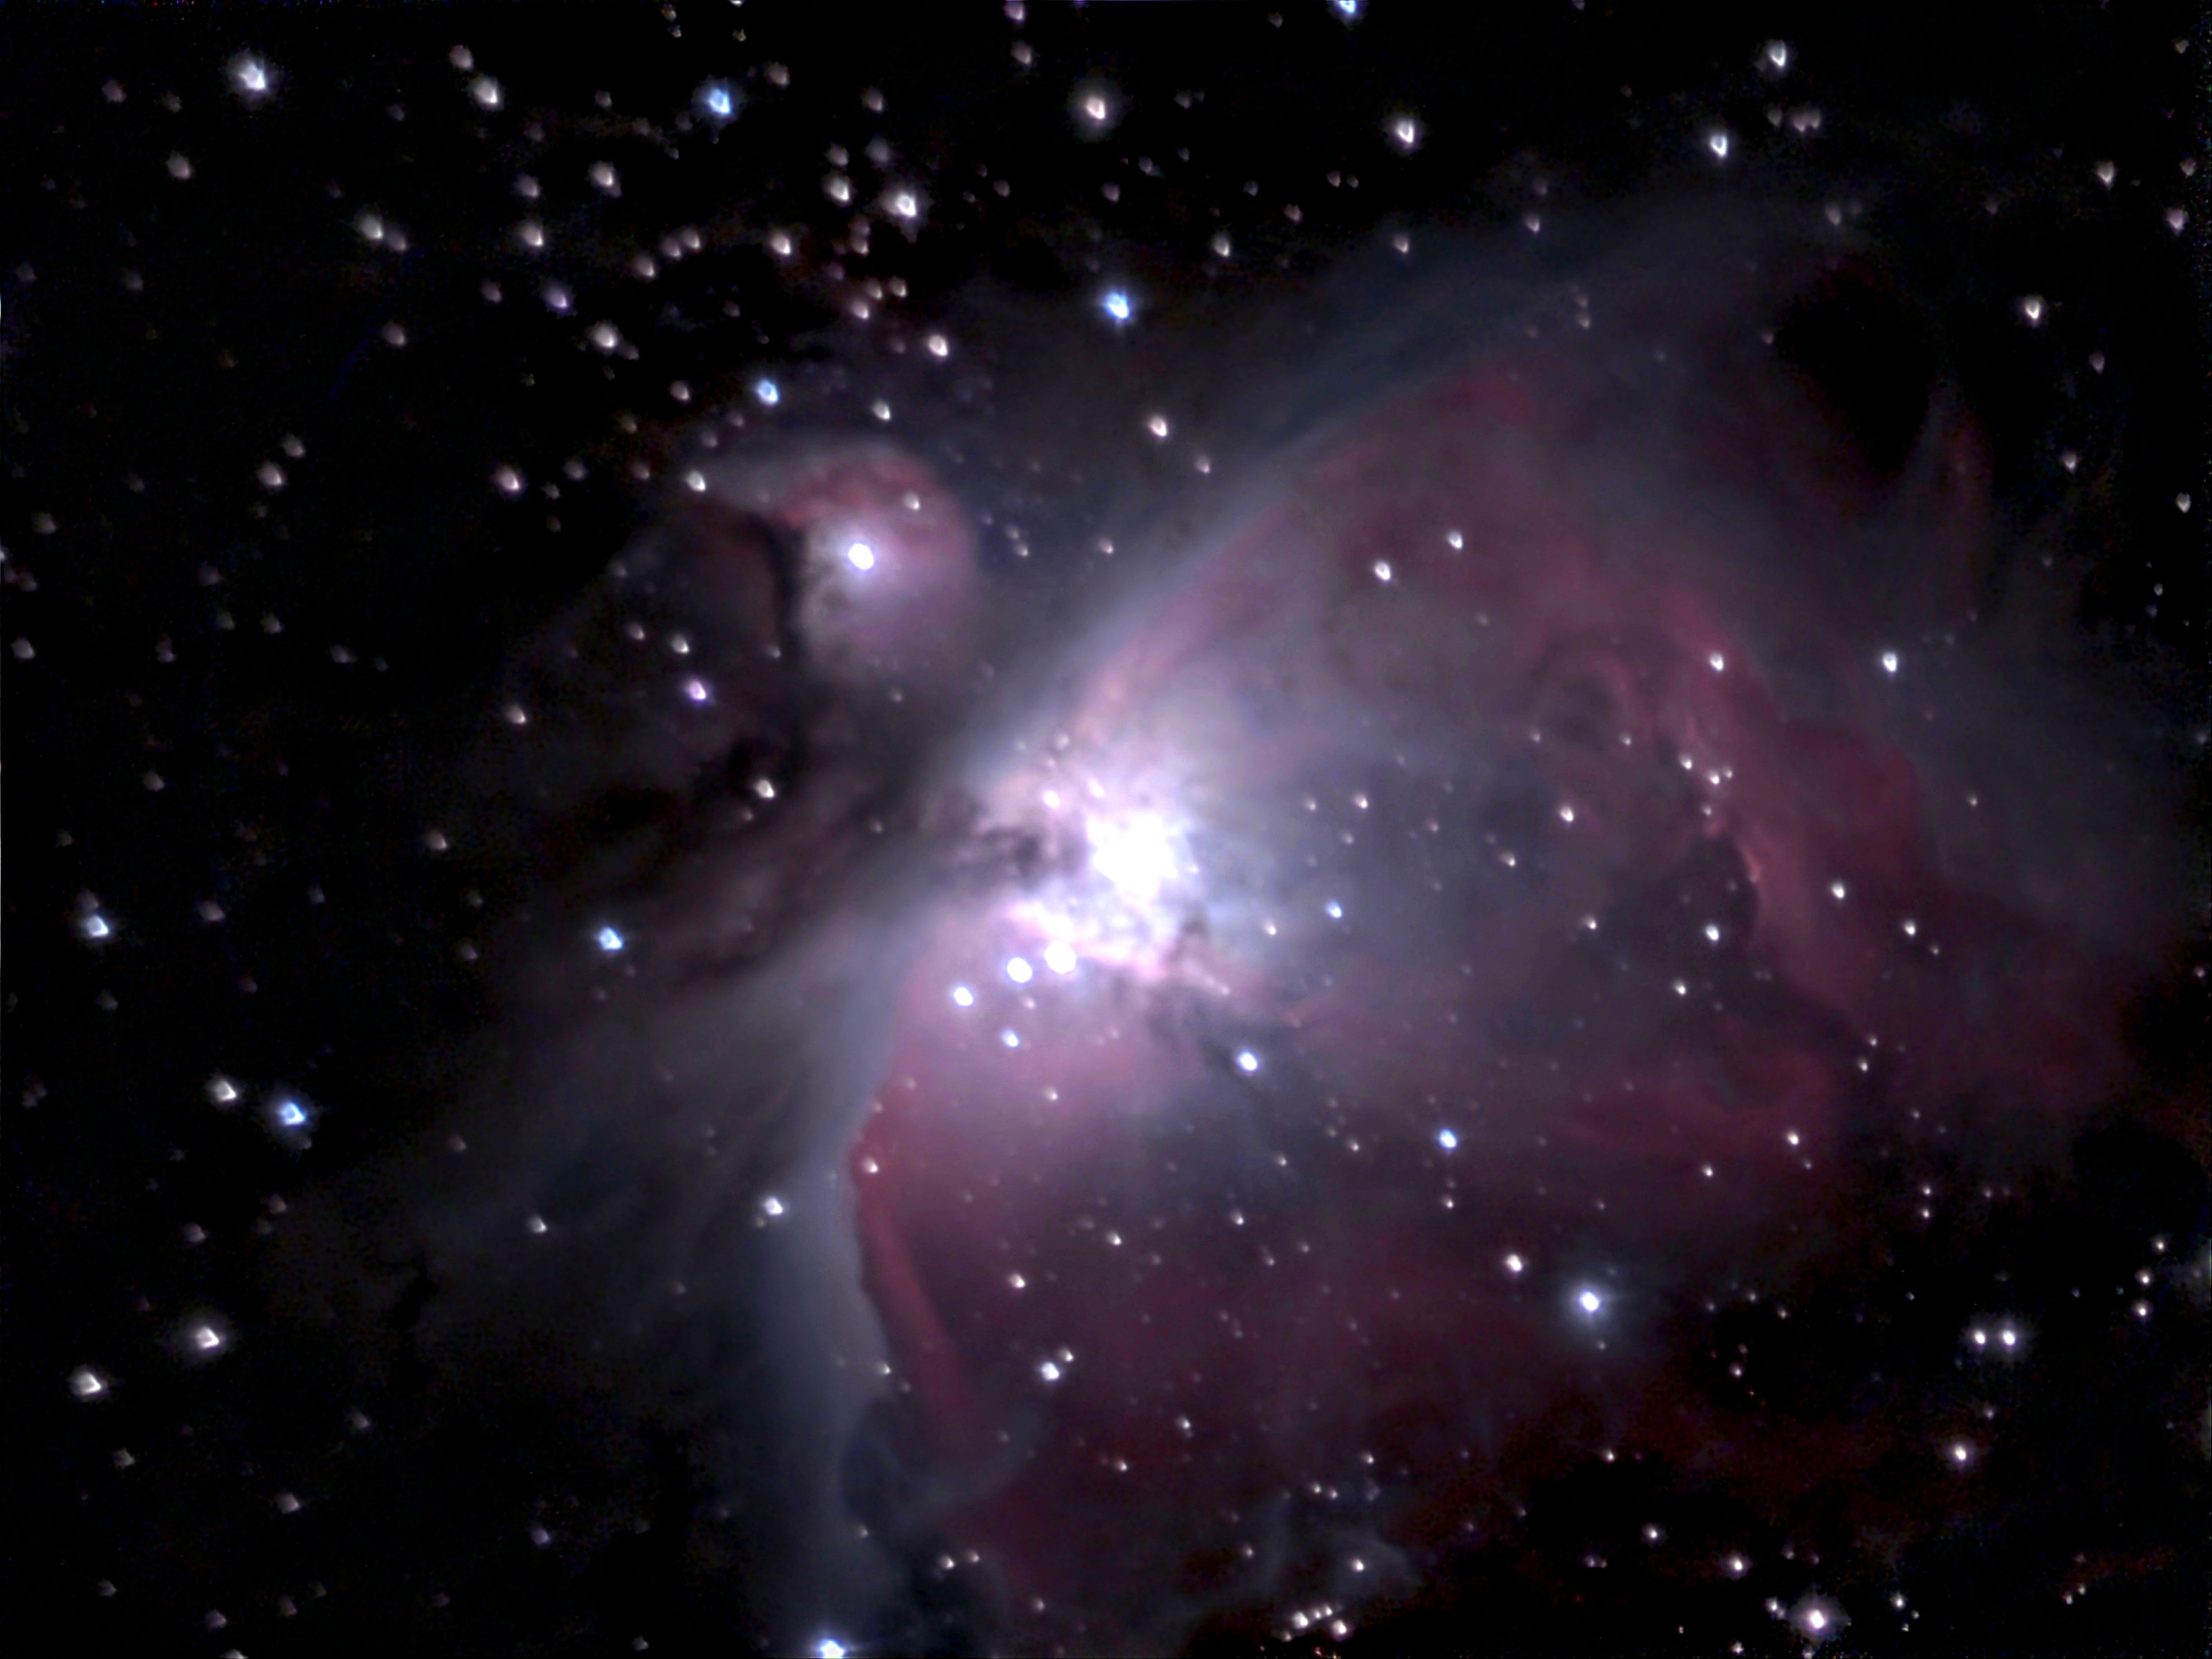
Files come out at around 8MB each, and are saved in PNG format. They’re not going to rival those created by dedicated, cooled, astro cameras such as those from ZWO or Altair, however, as the sensor is the size of a smartphone chip. The noise it generates is processed out, but at the cost of how much detail?
Turning it on the Andromeda galaxy resulted in a bright spot from the galaxy’s core but little definition in its spiral arms even after 45 minutes of exposure. A view of Jupiter provided some clear evidence of its equatorial bands, though it appeared very small in the frame. It also brought into clarity the importance of focus in creating good images. If your focus is off, stars become less like points and more like rings, with diffraction spikes that are an artefact of the Newtonian design. Getting perfect focus is the only manual part of EVscope 2 setup beyond putting it on its tripod, and it would have been nice to see it automated.
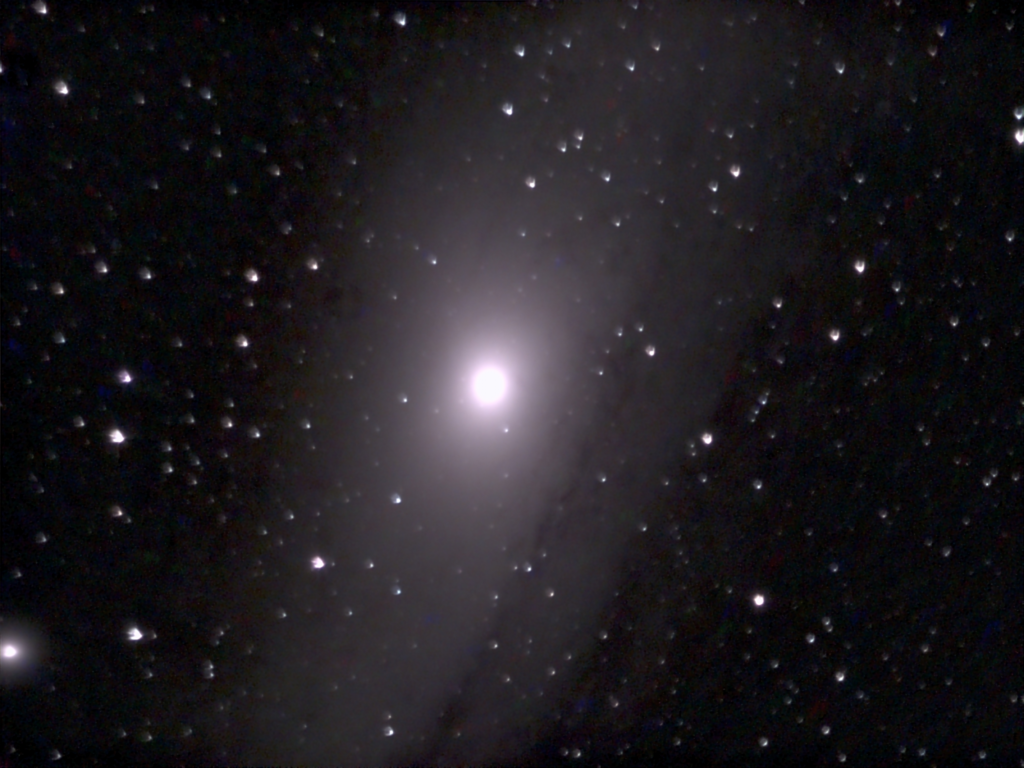
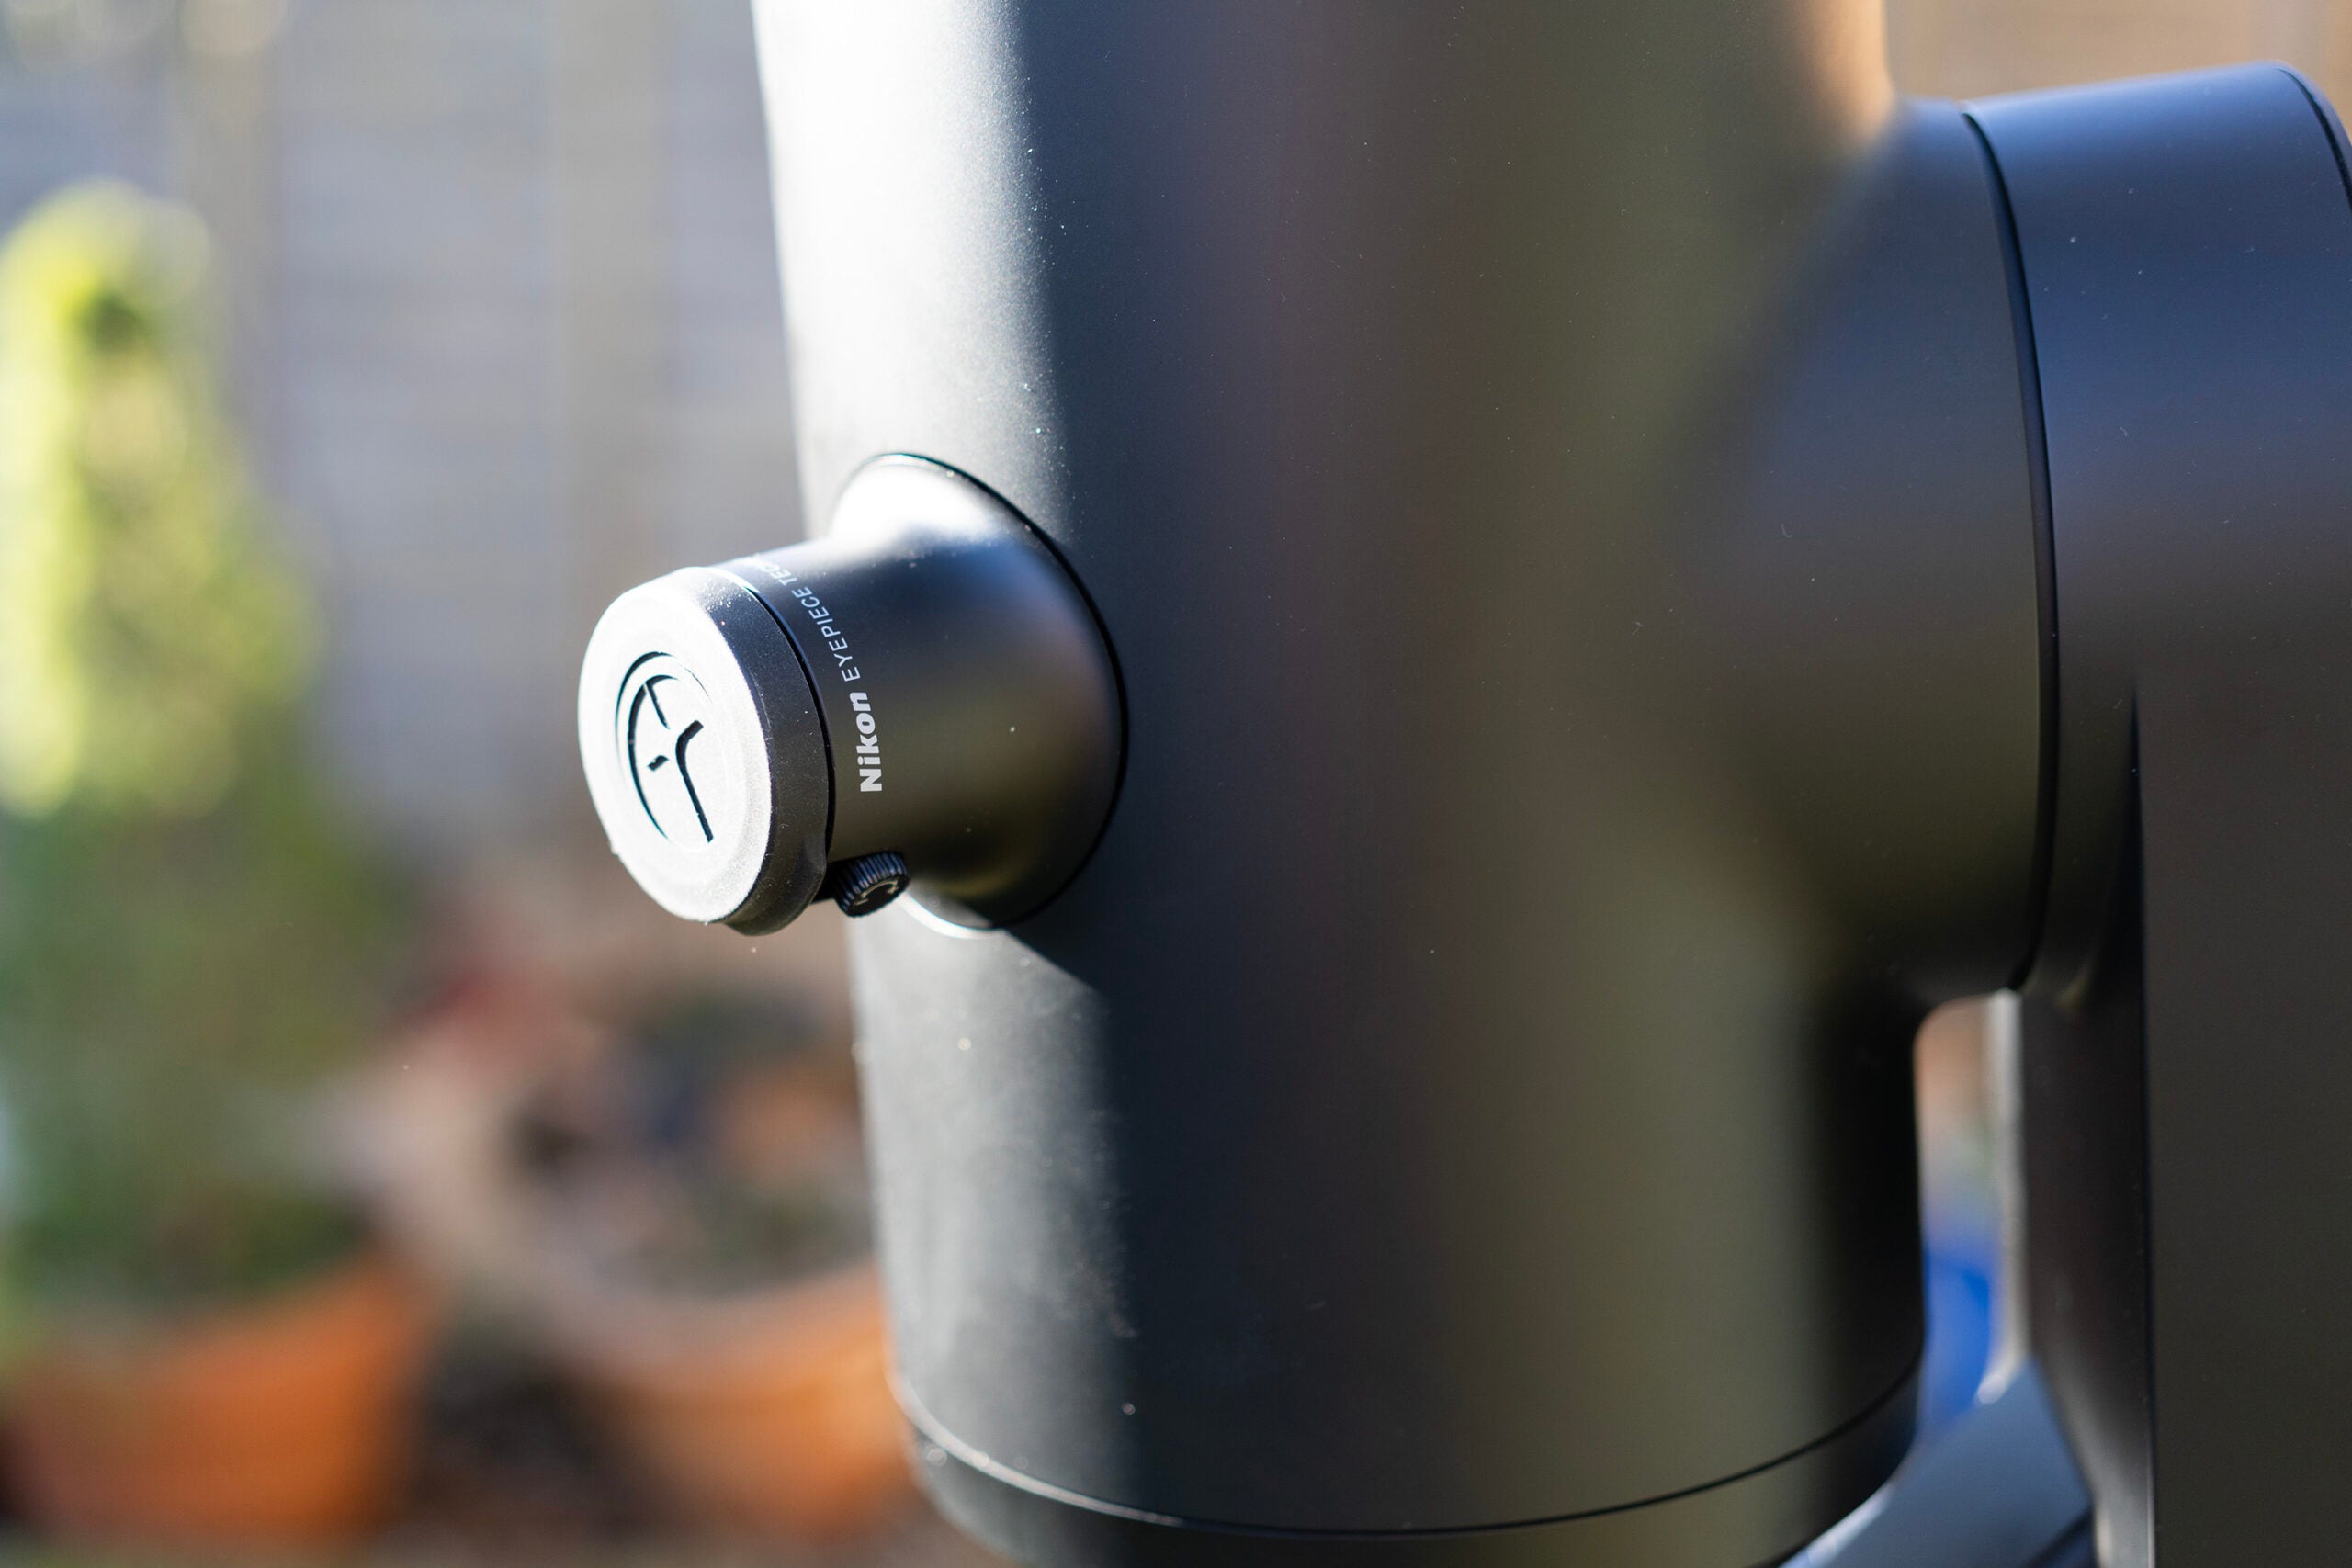
You can also look through the eyepiece if you like, but the Nikon-designed lens doesn’t show you the view directly down the tube, as with other Newtonian telescopes. Instead, it shows you a micro-OLED display of the camera feed, which can be less satisfying than the same view in the app. You can see some other sample photos below.
Juptier
Crab nebula
The moon
Latest deals
Should you buy it?
You want a high-quality telescope to see the stars
An easy way to see the spectacular sights the night sky has to offer.
You want something more affordable
This telescope is expensive, susceptible to the wind, has a manual focus and is limited in its image quality.
Final Thoughts
The EVscope 2 is an impressive electronic astronomy system, and it should be for the price. This is a far superior scope to smaller units such as the Vaonis Vespera Observation Station, as its greater magnification and aperture, as well as the higher resolution of the imaging sensor, allow it to create some excellent images of night sky objects you wouldn’t see otherwise.
The ease of use achieved via the smooth and effective self-calibration and app-based guidance is rather undermined by the need to focus on your targets, manually and the high price of the system will discourage many casual astronomers from trying it out.
FAQs
While most functions are available through the app, there’s also an eyepiece if you want to look directly – this system uses an internal OLED screen.
Verdict
Eye-wateringly expensive and a bit bulky to move around, this automated telescope and camera will nonetheless provide impressive images of night-sky objects such as nebulae and galaxies with ease. The downside is that you’ll need to focus it manually, put up with its temperature and wind restrictions, and get it under clear skies.
Pros
- Easy to use
- Wide catalogue of targets
- Wi-Fi and app
Cons
- Expensive
- Image quality could be better
- Tripod not always stable
-
Smart phone controlUse your smartphone, via the direct Wi-Fi connection, to control the telescope and take photos.
Introduction
Unistellar’s EVscope 2 is a camera in a telescope with a motor attached.
Designed to slew its way around the night sky guided by an app, it has integrated image processing and internal database of objects, tracking them and providing long-exposure images to show the faint glow of nebulae and detail of the Moon’s surface.
The EVscope 2 also has an eyepiece, unusual on this kind of fully electronic device, so you can peer through it rather than look at your phone screen.
If you’re prepared to pay the high price then the eVscope 2 has a lot to offer, but there are some drawbacks to the system that may make it less attractive.
Design and features
- Comes with tripod
- Reflecting telescope
- Fully integrated electronics
Assembling the EVscope is very easy, as it comes in almost one piece: once you’ve extended the three-section tripod legs, it just slots into the top and is held in place by two screws you can do up with your fingers. You’ll need to get it level, using the bubble built into the tripod, but from there the system can calibrate and locate itself once you’ve connected a phone or tablet to the Wi-Fi hotspot it creates, and connected the app using a unique ID number on the bottom of the telescope tube. Up to 10 people can connect in observer mode, and benefit from viewing the images without taking control of the scope itself.

The telescope here is a reflector, with a focal length of 450mm and an aperture of around 5.5in, for a focal ratio of f/4. This gives it a limiting magnitude in the region of 18, so you can use it to pick out quite dim objects. There’s a 7.7MP camera attached, and the motorised alt-az mount lets it track deep-sky objects while sending the stacked and processed results to the phone app.
It’s an excellent system that removes a lot of the worst part of astrophotography and stargazing – the need to set your equipment up beforehand, and constantly be outside in the cold peering through the eyepiece at something you can hardly see. The Wi-Fi hotspot on the EVscope 2 doesn’t have a particularly long range, especially if you’re connecting to it through a closed door, but it allows you to sit inside once you’ve positioned it, and stargaze with a cup of tea.
With its silver and black finish it’s a good looking scope, for something that will be mainly used in the dark, though the all-black tripod needs careful siting so you don’t catch your foot on its legs when walking near it. A lone light on the power button – the only control that’s actually on the telescope beyond the focus wheel on the back of the tube – uses colour to tell you the Wi-Fi status.

There are a pair of USB ports for charging (Type-C) and a USB-A port that weirdly seems to have no actual use.
As the tube doesn’t come apart or fold down in any way, it can be cumbersome to carry. A dedicated backpack is available to take the scope with you, but it’s an extra £335.
Performance
- Easy setup and tracking
- Plenty in the catalogue
- Watch out for the temperature
The problem with astrophotography and stargazing in the UK is the weather, with the best nights tending to be clear and cold, and any cloud ruining the experience entirely. The eVscope 2 adds an element of spontaneity to back-garden astronomy, as it allows you to quickly set up and get viewing.
The calibration procedure for the EVscope 2 is quick and easy. Once you’ve got it on the tripod in its resting upright position, have connected your mobile device to the Wi-Fi hotspot and run the app, it only needs a view of the stars to calibrate itself, which only takes a few seconds. A focus wheel allows you to get your view of the stars sharp before you start, watching the app display or using the eyepiece to see the result of your changes, and a Bahtinov mask is included to help with this process.

From there, it’s a case of choosing something from the app’s catalogue and waiting for the scope to slew to view and track it. It helps if you have a secondary app, such as Google Sky Map handy, to immediately see what’s above you and not obscured by trees and ground clutter – it’s a scope that’s best used in clear surroundings – as the Unistellar app isn’t always clear about what’s visible from your position.
Once you’ve locked on to something you want to look at, you’ll begin to see an image emerge in the app. The EVscope 2 takes an exposure every few seconds and stacks them into a long-exposure image that it will automatically process. A button tap saves a file to your phone’s Photos app, from where it can be easily shared.
There are also some weather-based caveats to the use of the EVscope 2. The tripod is not as heavily built as those under traditional EQ telescope mounts, so it’s vulnerable to the wind, which can make it rock slightly and soften your images. You can see this in action more clearly as you adjust the focus wheel – you need to let the telescope settle before deciding whether the image has improved after your adjustment.
The eVscope 2 is also temperature sensitive, with the instruction manual warning never to use it in temperatures below 10°C or suffer battery damage. This limits the number of clear winter nights the scope will be useful on unless you live closer to the equator than my south-west UK test garden.
Charging of that battery comes via the USB-C port, and it’s a bit finicky about which chargers it will accept. The fast chargers I’m used to using with phones and tablets may not work, with the telescope preferring a lower wattage device. This is not much of a problem as you’re likely to charge the telescope during the day rather than in a hurry, and you can also connect a power bank to increase the usage time in the field. Once it’s charged, you’ll get up to 10 hours of observing time out of it.
Image quality
- Sony imaging sensor
- 7.7MP images
- Manual focus
The magnification and aperture are ideal for looking at wider-field objects such as the Orion Nebula or Andromeda galaxy. For the nebula, an hour’s worth of data came together to create an image that was murky but showed some structure. A bit more processing in the Google Photos app on the phone brought out the colours nicely, increasing the contrast so the Trapezium Cluster at the nebula’s heart shone brightly and the reds and blues of the gas clouds could be seen. It filled the telescope’s field of view nicely, making the most of the 7.7MP Sony IMX347 CMOS sensor. You can see the before and after processing images below.


Files come out at around 8MB each, and are saved in PNG format. They’re not going to rival those created by dedicated, cooled, astro cameras such as those from ZWO or Altair, however, as the sensor is the size of a smartphone chip. The noise it generates is processed out, but at the cost of how much detail?
Turning it on the Andromeda galaxy resulted in a bright spot from the galaxy’s core but little definition in its spiral arms even after 45 minutes of exposure. A view of Jupiter provided some clear evidence of its equatorial bands, though it appeared very small in the frame. It also brought into clarity the importance of focus in creating good images. If your focus is off, stars become less like points and more like rings, with diffraction spikes that are an artefact of the Newtonian design. Getting perfect focus is the only manual part of EVscope 2 setup beyond putting it on its tripod, and it would have been nice to see it automated.

You can also look through the eyepiece if you like, but the Nikon-designed lens doesn’t show you the view directly down the tube, as with other Newtonian telescopes. Instead, it shows you a micro-OLED display of the camera feed, which can be less satisfying than the same view in the app. You can see some other sample photos below.
Juptier
Crab nebula
The moon
Latest deals
Should you buy it?
You want a high-quality telescope to see the stars
An easy way to see the spectacular sights the night sky has to offer.
You want something more affordable
This telescope is expensive, susceptible to the wind, has a manual focus and is limited in its image quality.
Final Thoughts
The EVscope 2 is an impressive electronic astronomy system, and it should be for the price. This is a far superior scope to smaller units such as the Vaonis Vespera Observation Station, as its greater magnification and aperture, as well as the higher resolution of the imaging sensor, allow it to create some excellent images of night sky objects you wouldn’t see otherwise.
The ease of use achieved via the smooth and effective self-calibration and app-based guidance is rather undermined by the need to focus on your targets, manually and the high price of the system will discourage many casual astronomers from trying it out.
FAQs
While most functions are available through the app, there’s also an eyepiece if you want to look directly – this system uses an internal OLED screen.


